rough rods
First forays into recreating velvet weaving rods.
Rods are one of the most important elements to weaving consistent, high-density velvet, but they are also one of the more elusive and complex tools to recreate. There has been enough conversation in the corners of the online weaving community to indicate a clear interest in how these rods can be made/obtained, but no sign of a clear method of production yet, so this seems like a great opportunity to really take the time to develop a system for making velvet rods. The results at the end of the first tests have been rough, but by the end there was a clear (and promising) path forward).
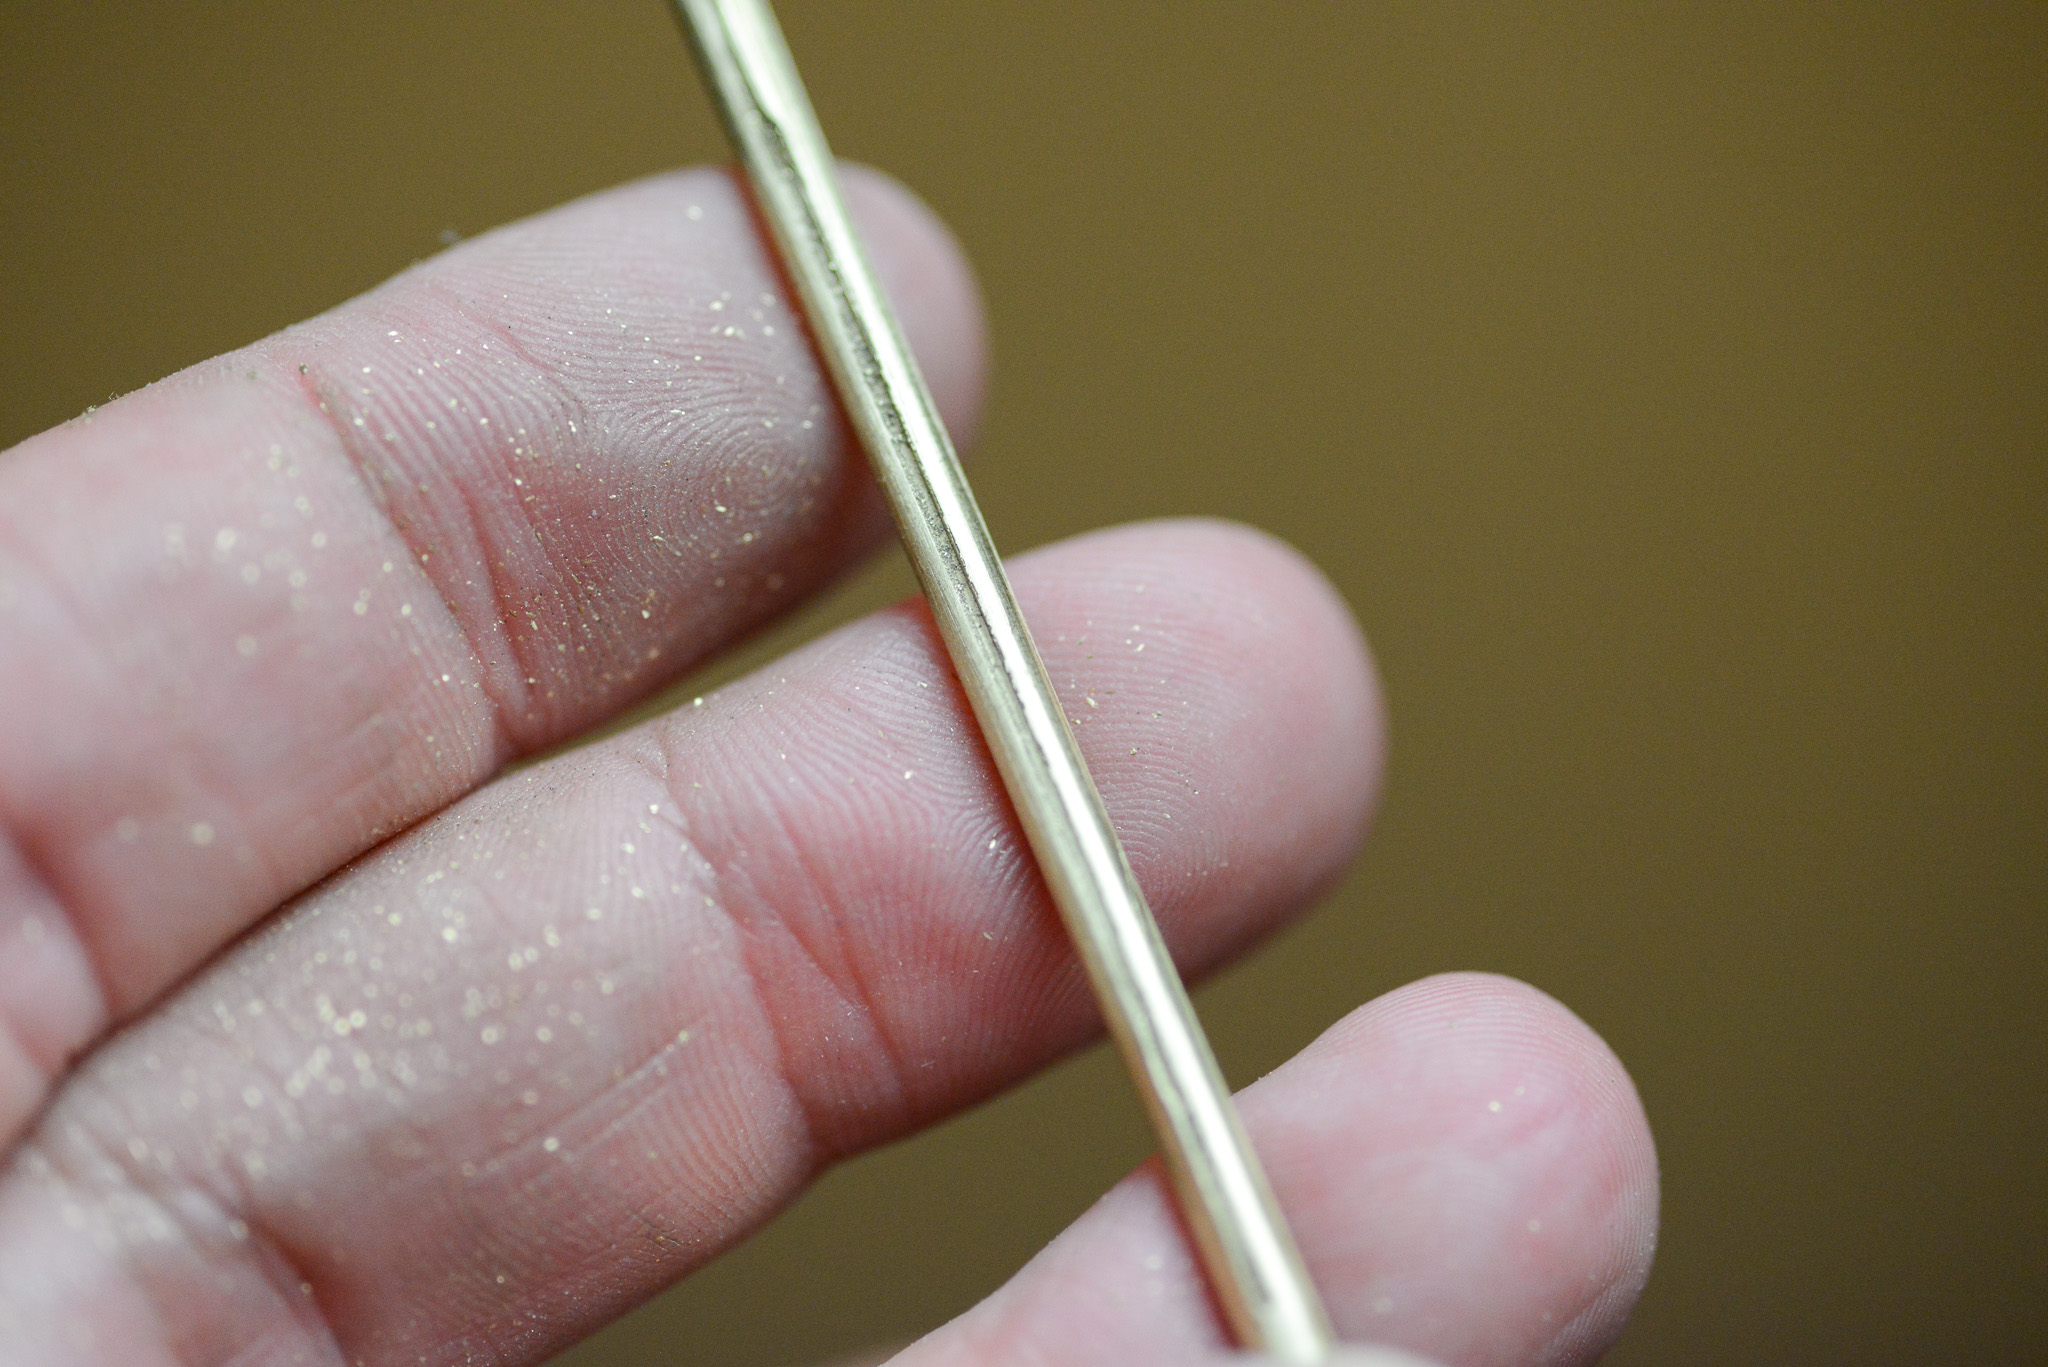
why do the velvet rods matter?
For each row of tufted velvet, the warp threads need to be looped around a metal rod as they are woven. The shape and size of the rods determines the density of the velvet, and the height of its pile. A rounded rod means it can be lifted slightly as the successive ground picks are woven, allowing them to pack together more tightly. The larger the diameter of the rod, the higher the pile will be. Different size rods can be used in the weaving of a single velvet cloth, to create an undulating effect in the height of the velvet.
Velvet is tufted as it is woven: once enough successive rows have been woven to secure the looped silk in place, a sharp blade is run smoothly across the top of the rod. A groove etched into the rod guides the blade, making sure it cuts in a straight line and keeping the velvet pile even.

making a rod
Traditional velvet rods can’t be easily bought, so many weavers develop their own solutions. Some use two small rods for each looping and run their blade across the gap in the middle. It’s a practical and accessible solution, but I find the doubling of the rods creates too large a spacing in the velvet tufting for what I am hoping to achieve. Some use two flat metal sticks instead of rods and slice between these. Whilst that does help avoid the issue of wide spacing in the velvet, it does create a very high pile, which is then difficult to trim evenly by hand.
the ruler method
I would like to begin weaving velvet using rods with a diameter of 1,2 – 1,5mm. This should give a delicate and tight pile, but requires an incredibly fine groove and leaves very little room for error. Ideally the rods would be made of brass, which is easily accessible in small diameters, soft enough to create some form of groove, yet also strong enough not to be badly distorted during the weaving process.
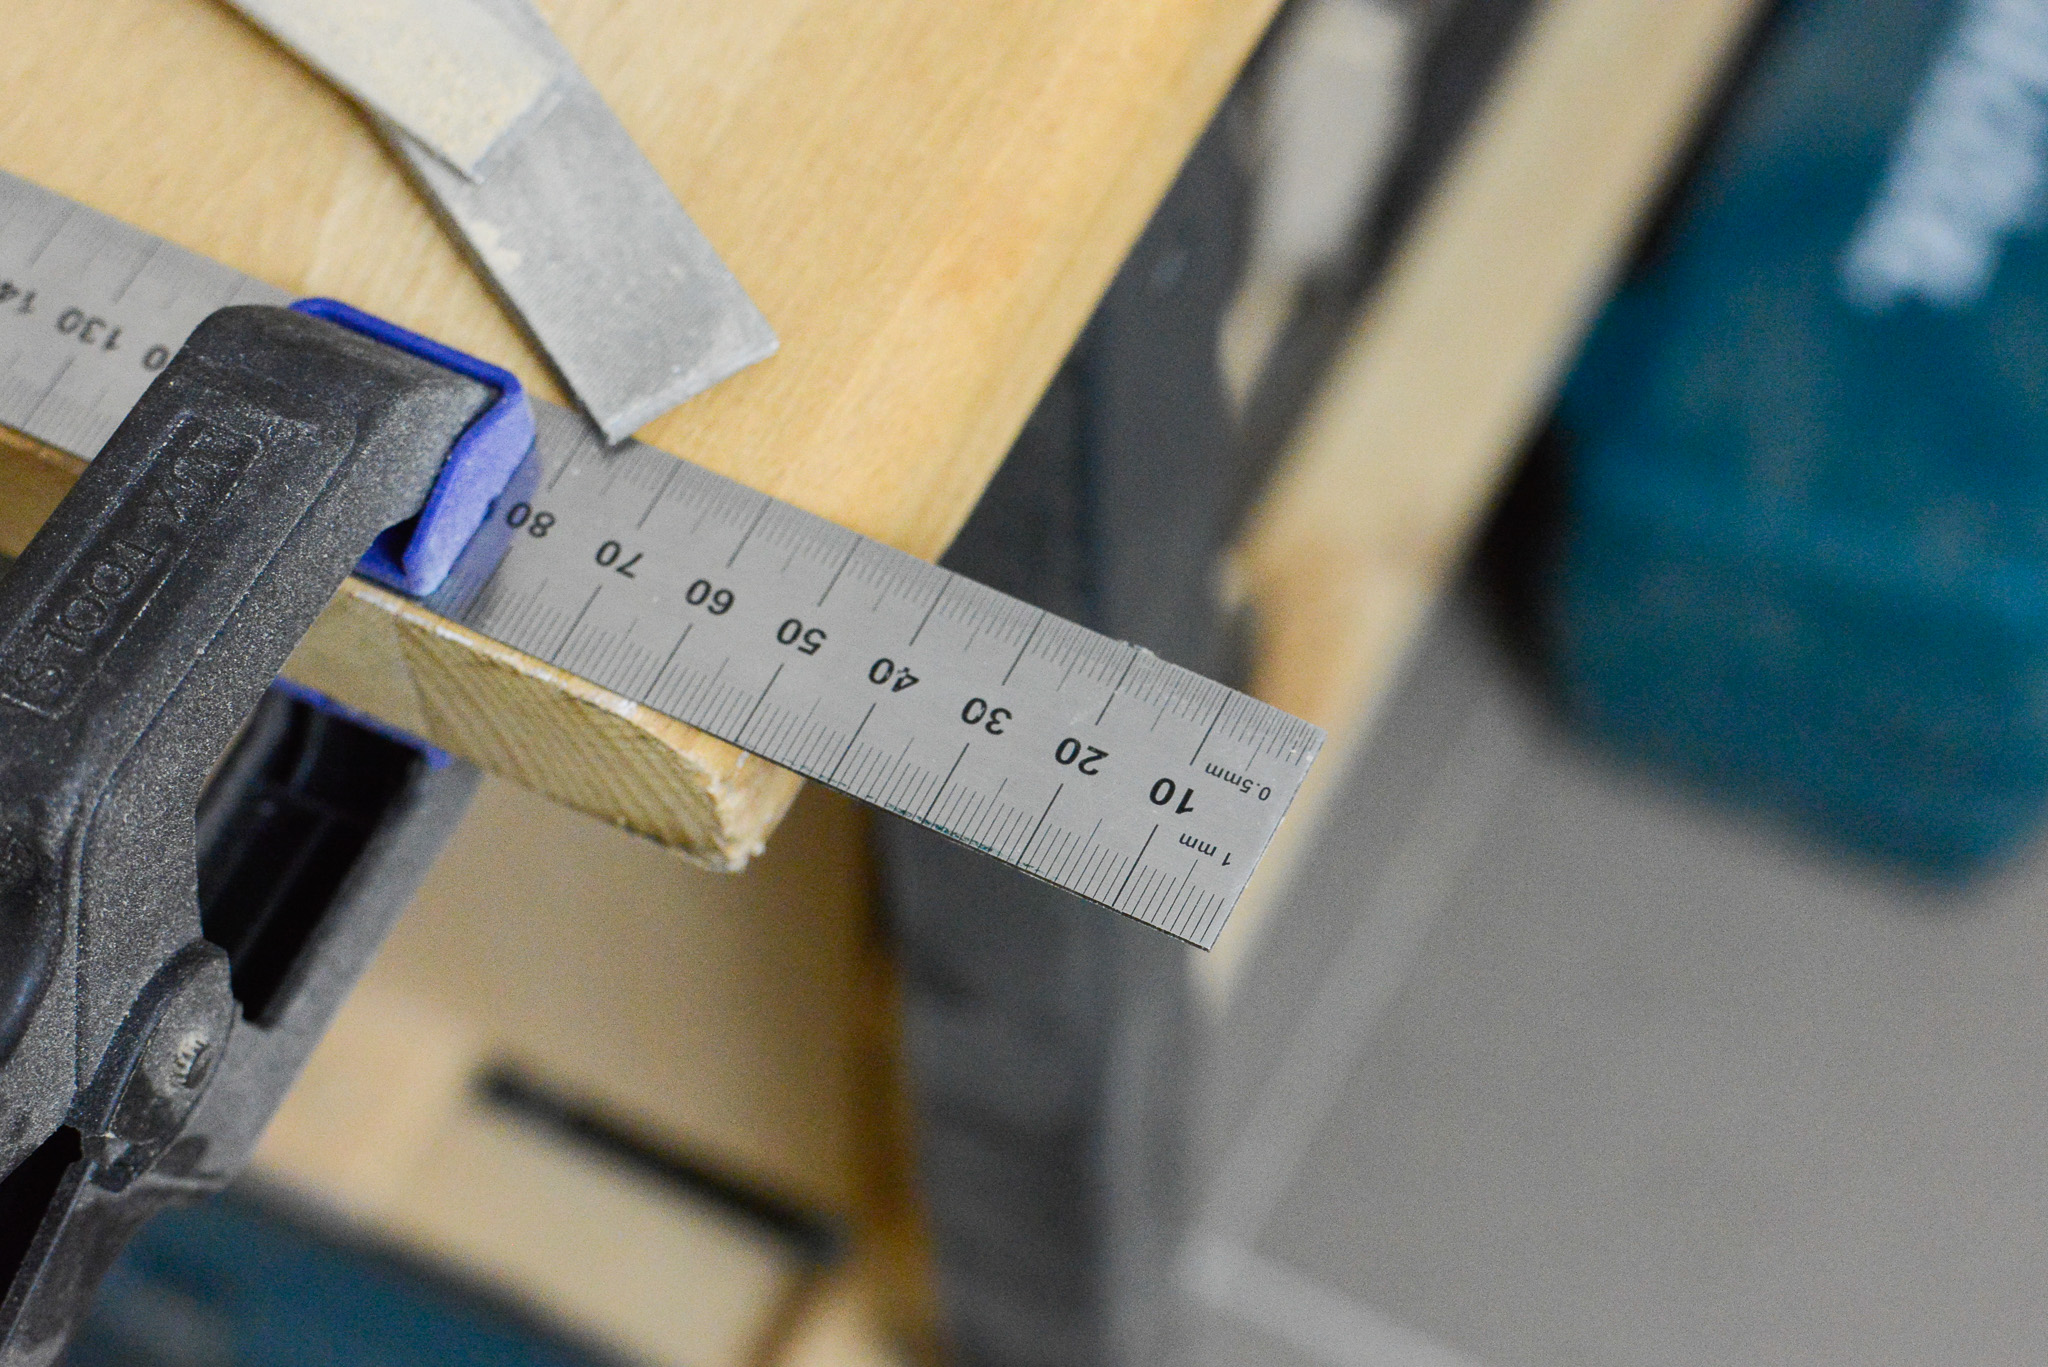
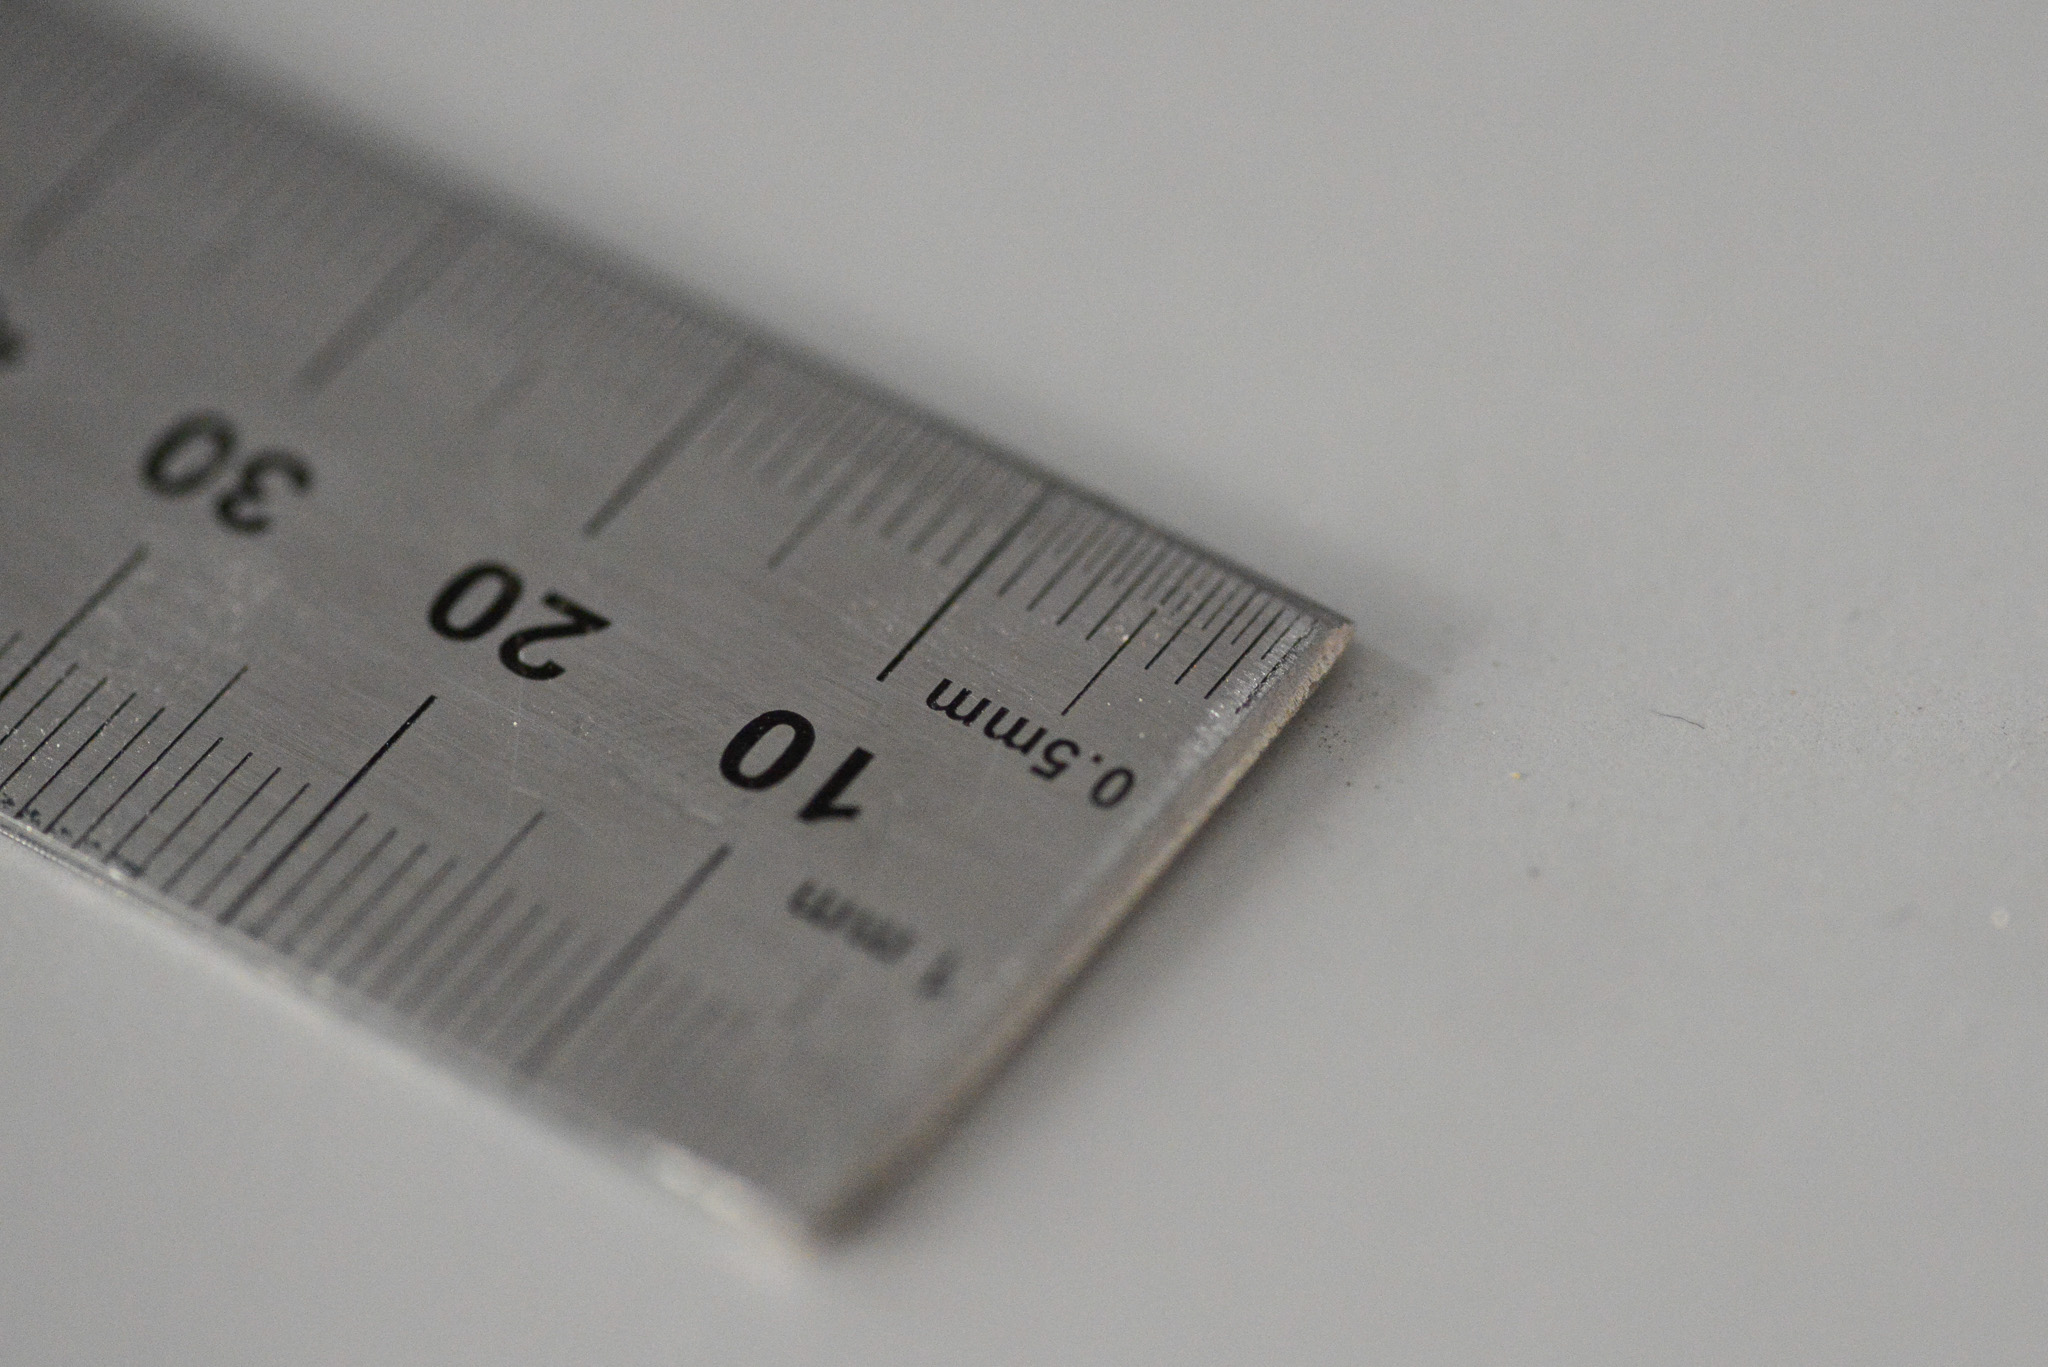
The first method I experimented with was to hammer or press a groove into the rod. If I could create a sharp, smooth edge along a strong metal surface, I might be able to morph the softer brass rod around it. I used metal files to sharpen a knife-like edge along an old metal ruler, and then refined the edge using the sharpening whetstone I use for my lathe chisels.
It was simple enough to create a highly sharp edge along the ruler and to align it to the rod, but I couldn’t generate enough pressure or force to make a significant or consistent groove in the brass. Instead the sharpened edge “scraped” the brass and whilst the line was relatively straight, it was too superficial and inconsistent to be successful.
the scoring method
Since the brass seemed to scratch so easily when pressed into the sharpened ruler, I decided to lean into this and try intentionally scoring the metal. I wanted to also get a better understanding of exactly how deep or shallow the groove would need to be for the blade to run along it without diverting.
I used my router to cut a groove in some scrap wood board and clamped the brass rod in place inside it. I then took a fresh scalpel blade and laid it flat along the surface of the wood board. I ran the scalpel repeatedly along the board, with the tip of the blade scoring lightly into the brass rod.
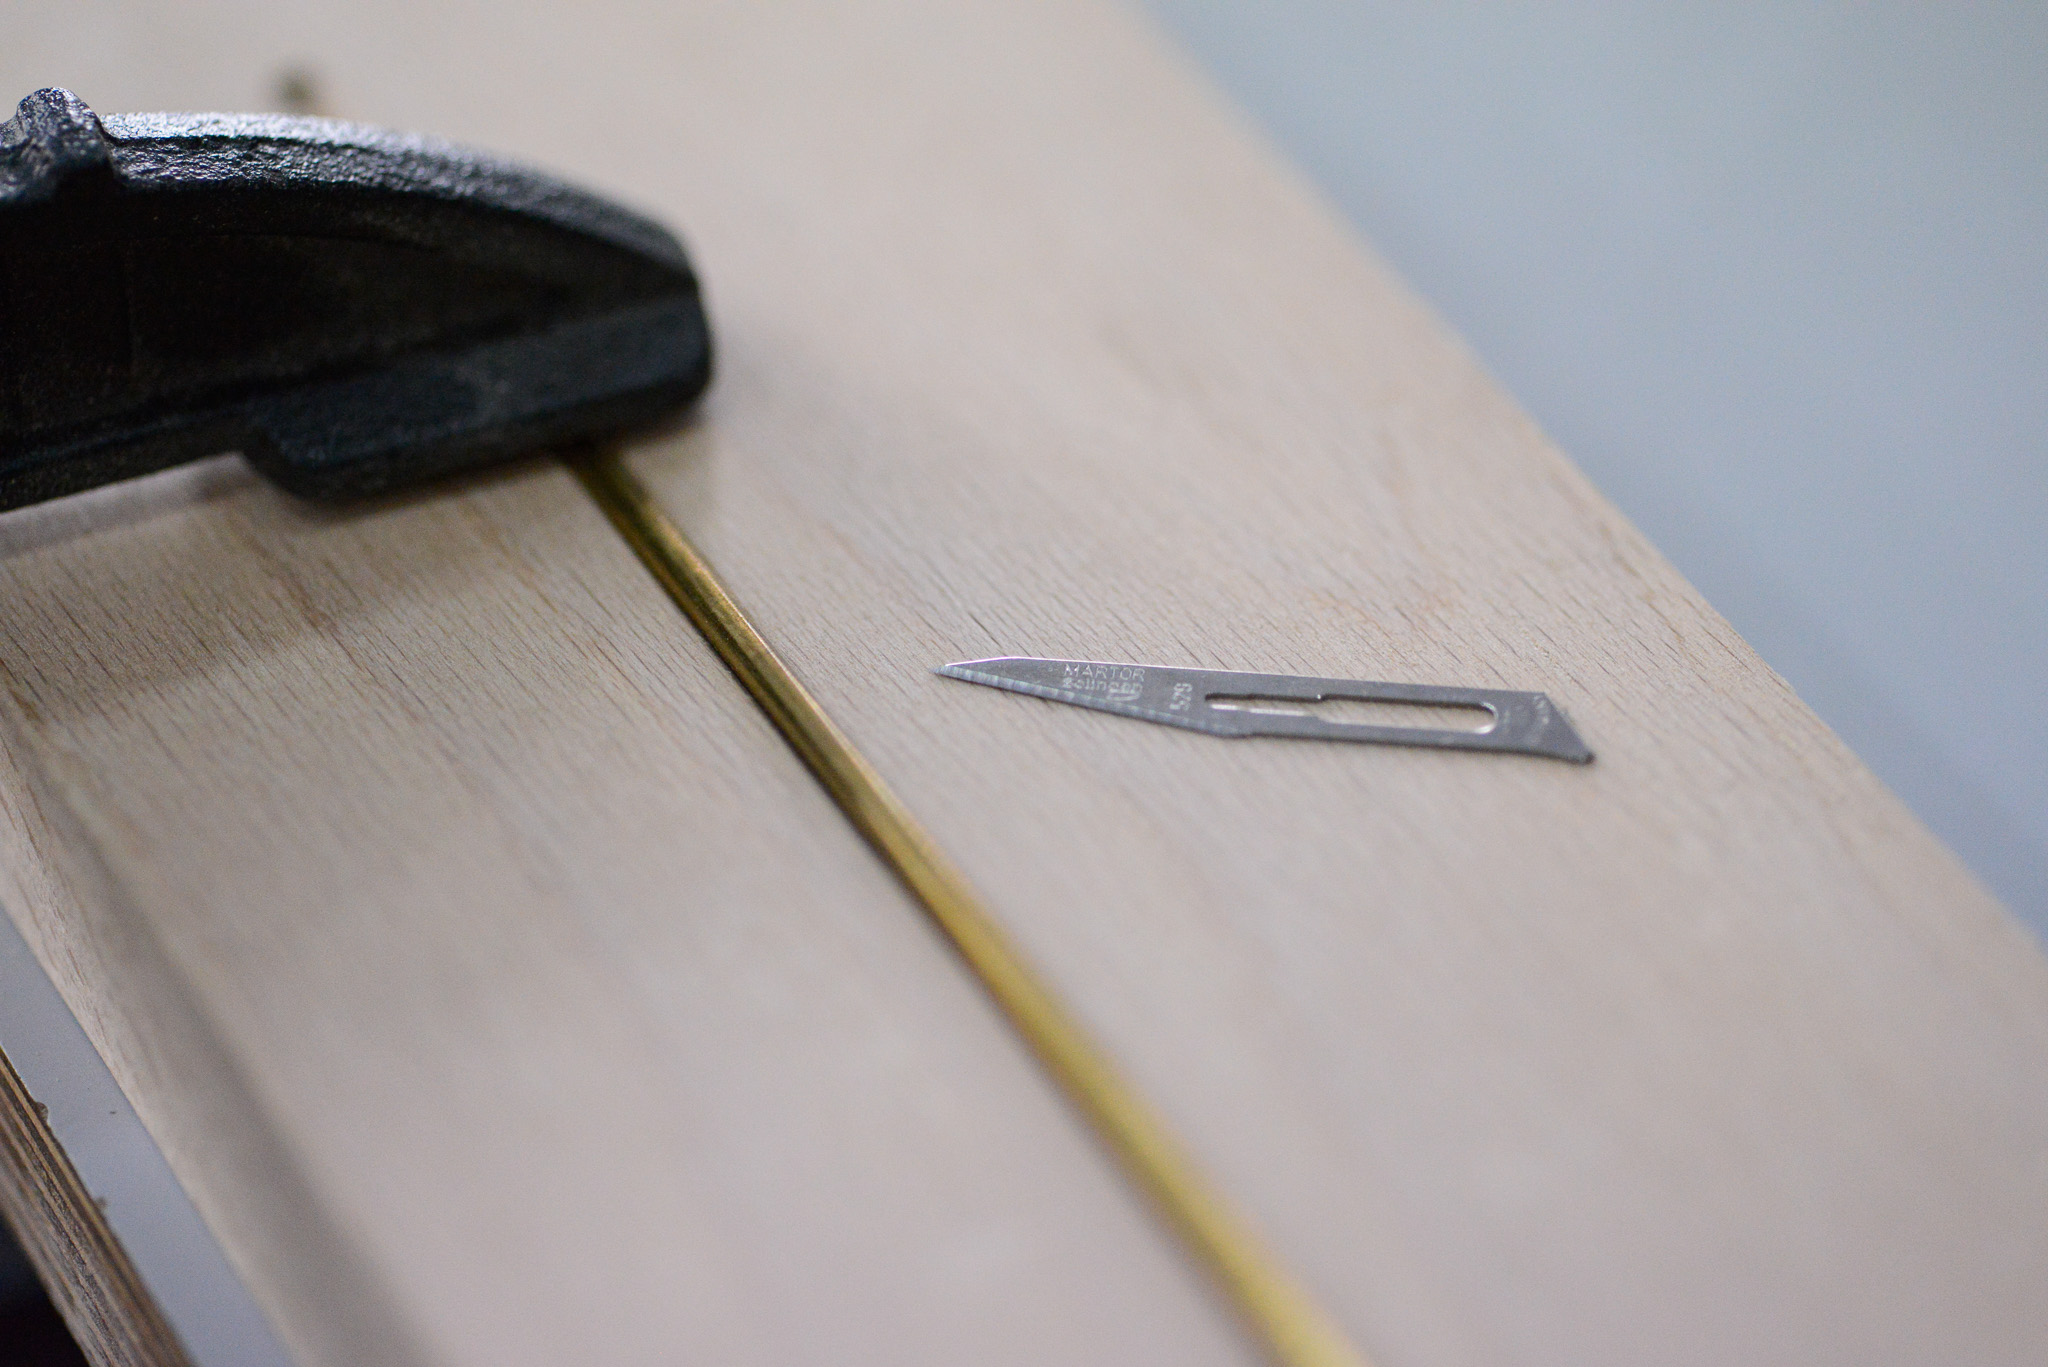
The result was unsuccessful but unsurprisingly so. The scalpel tip created a slightly different mark with each pass, instead of repeatedly scoring into the same groove. The only successful part was securing the brass rod in the wood block groove.
the router method
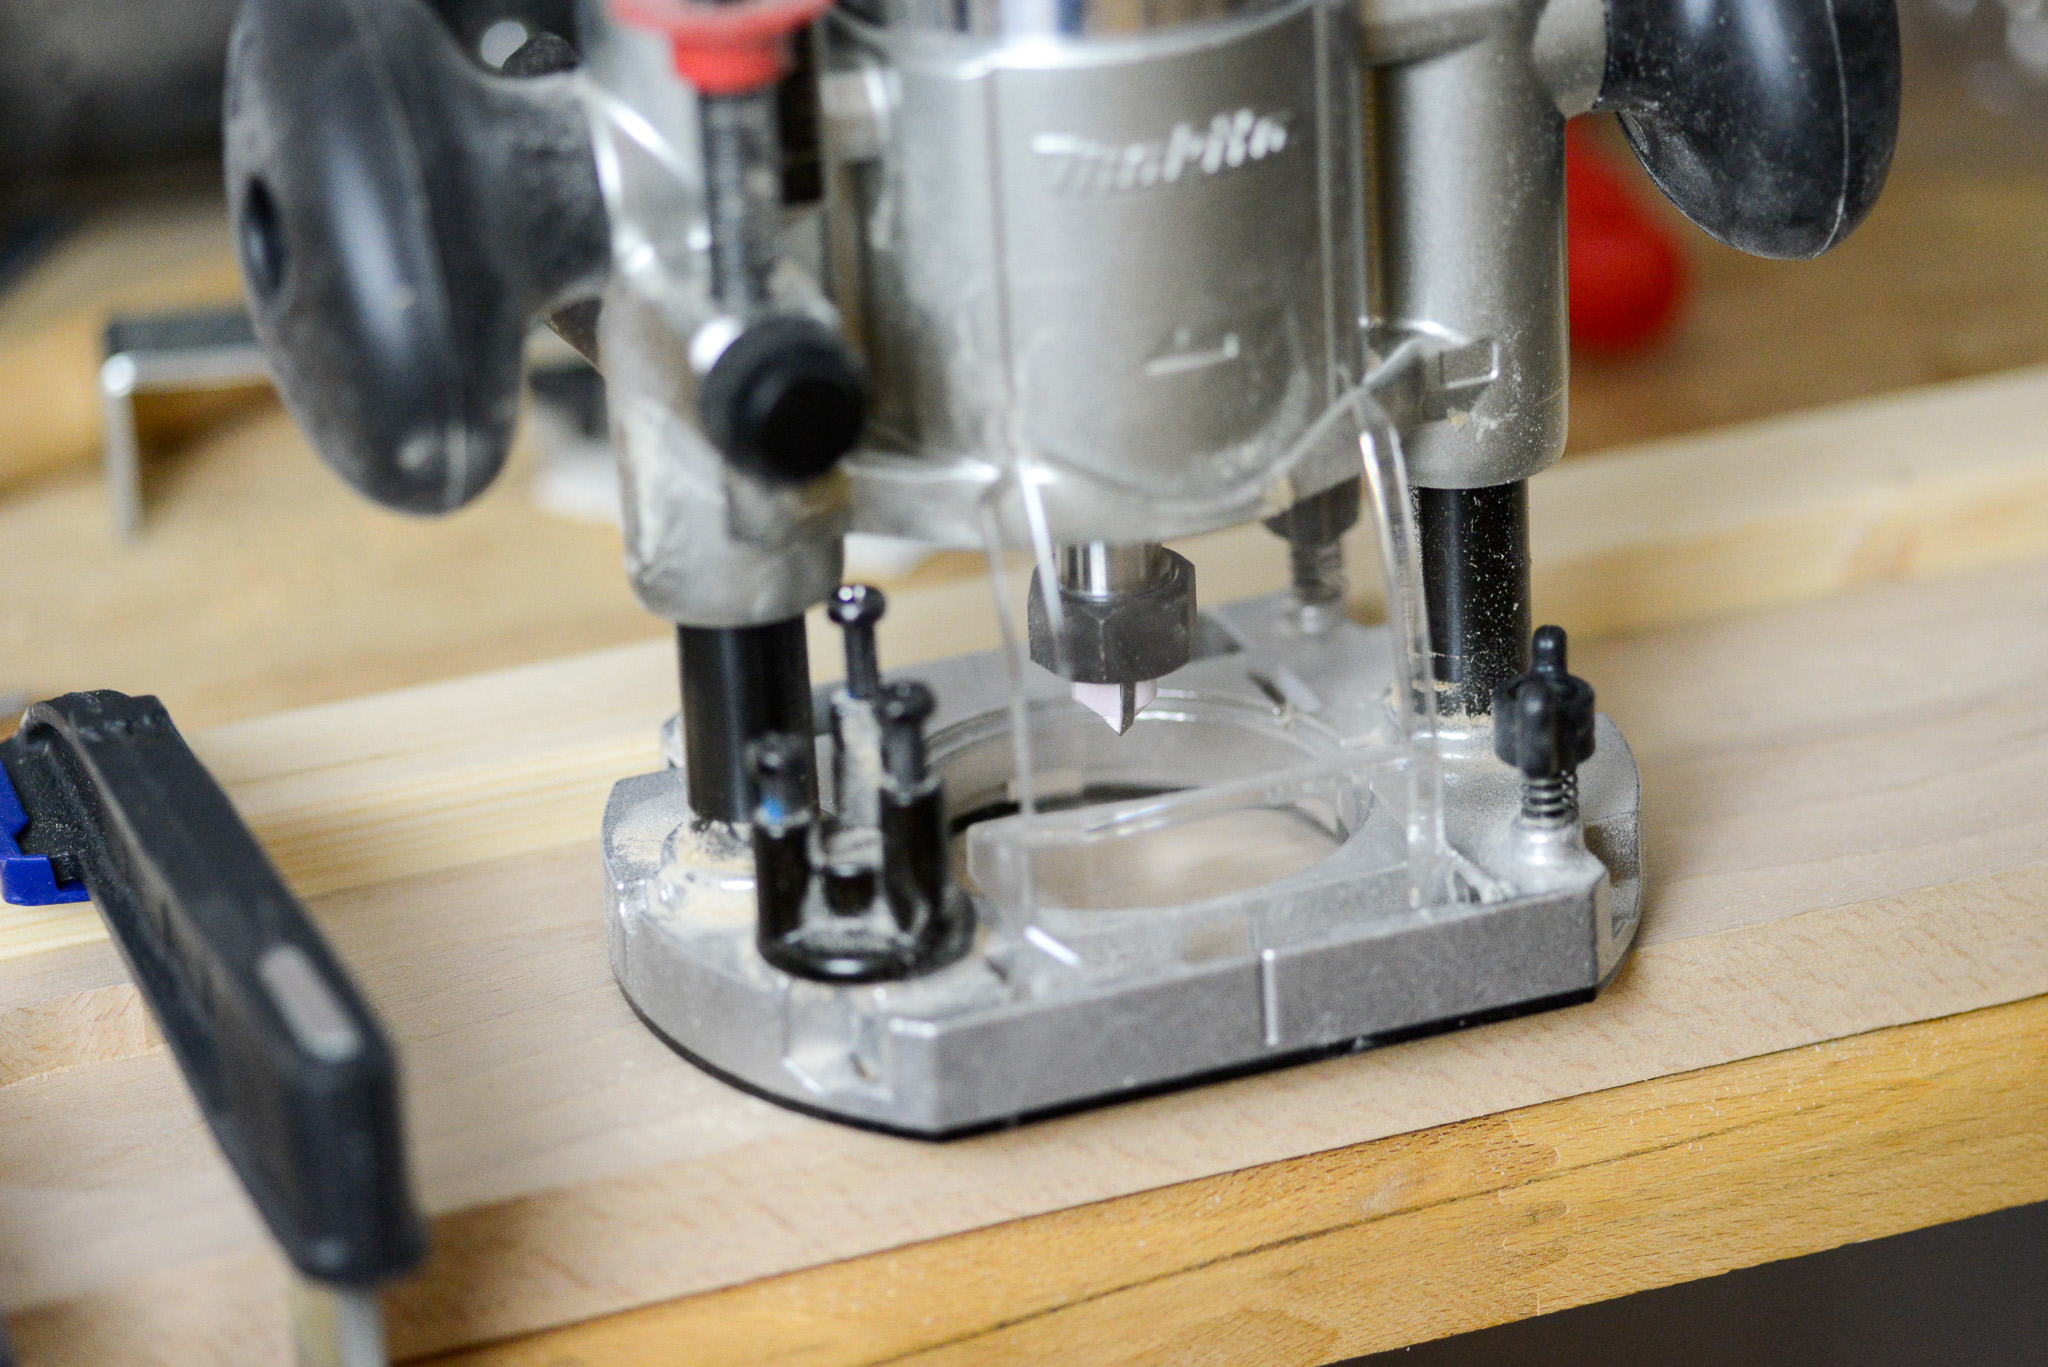
Seeing how effective the router cut had been in the wood made me reconsider using it to cut into the brass. I had originally written off the idea because my router bits were too large, and the machine is designed for use on wood, not metal. Still, seeing how fine point of the groove was encouraged me to reconsider this as an option.
Continuing to clamp the brass rod in place in the wood board, I ran my router along it using only a very shallow cut and low speed, also coating the rod in WD-40 for lubriaction. By clamping another scrap of wood and using it as a guide, I was able to cut in a relatively straight line.
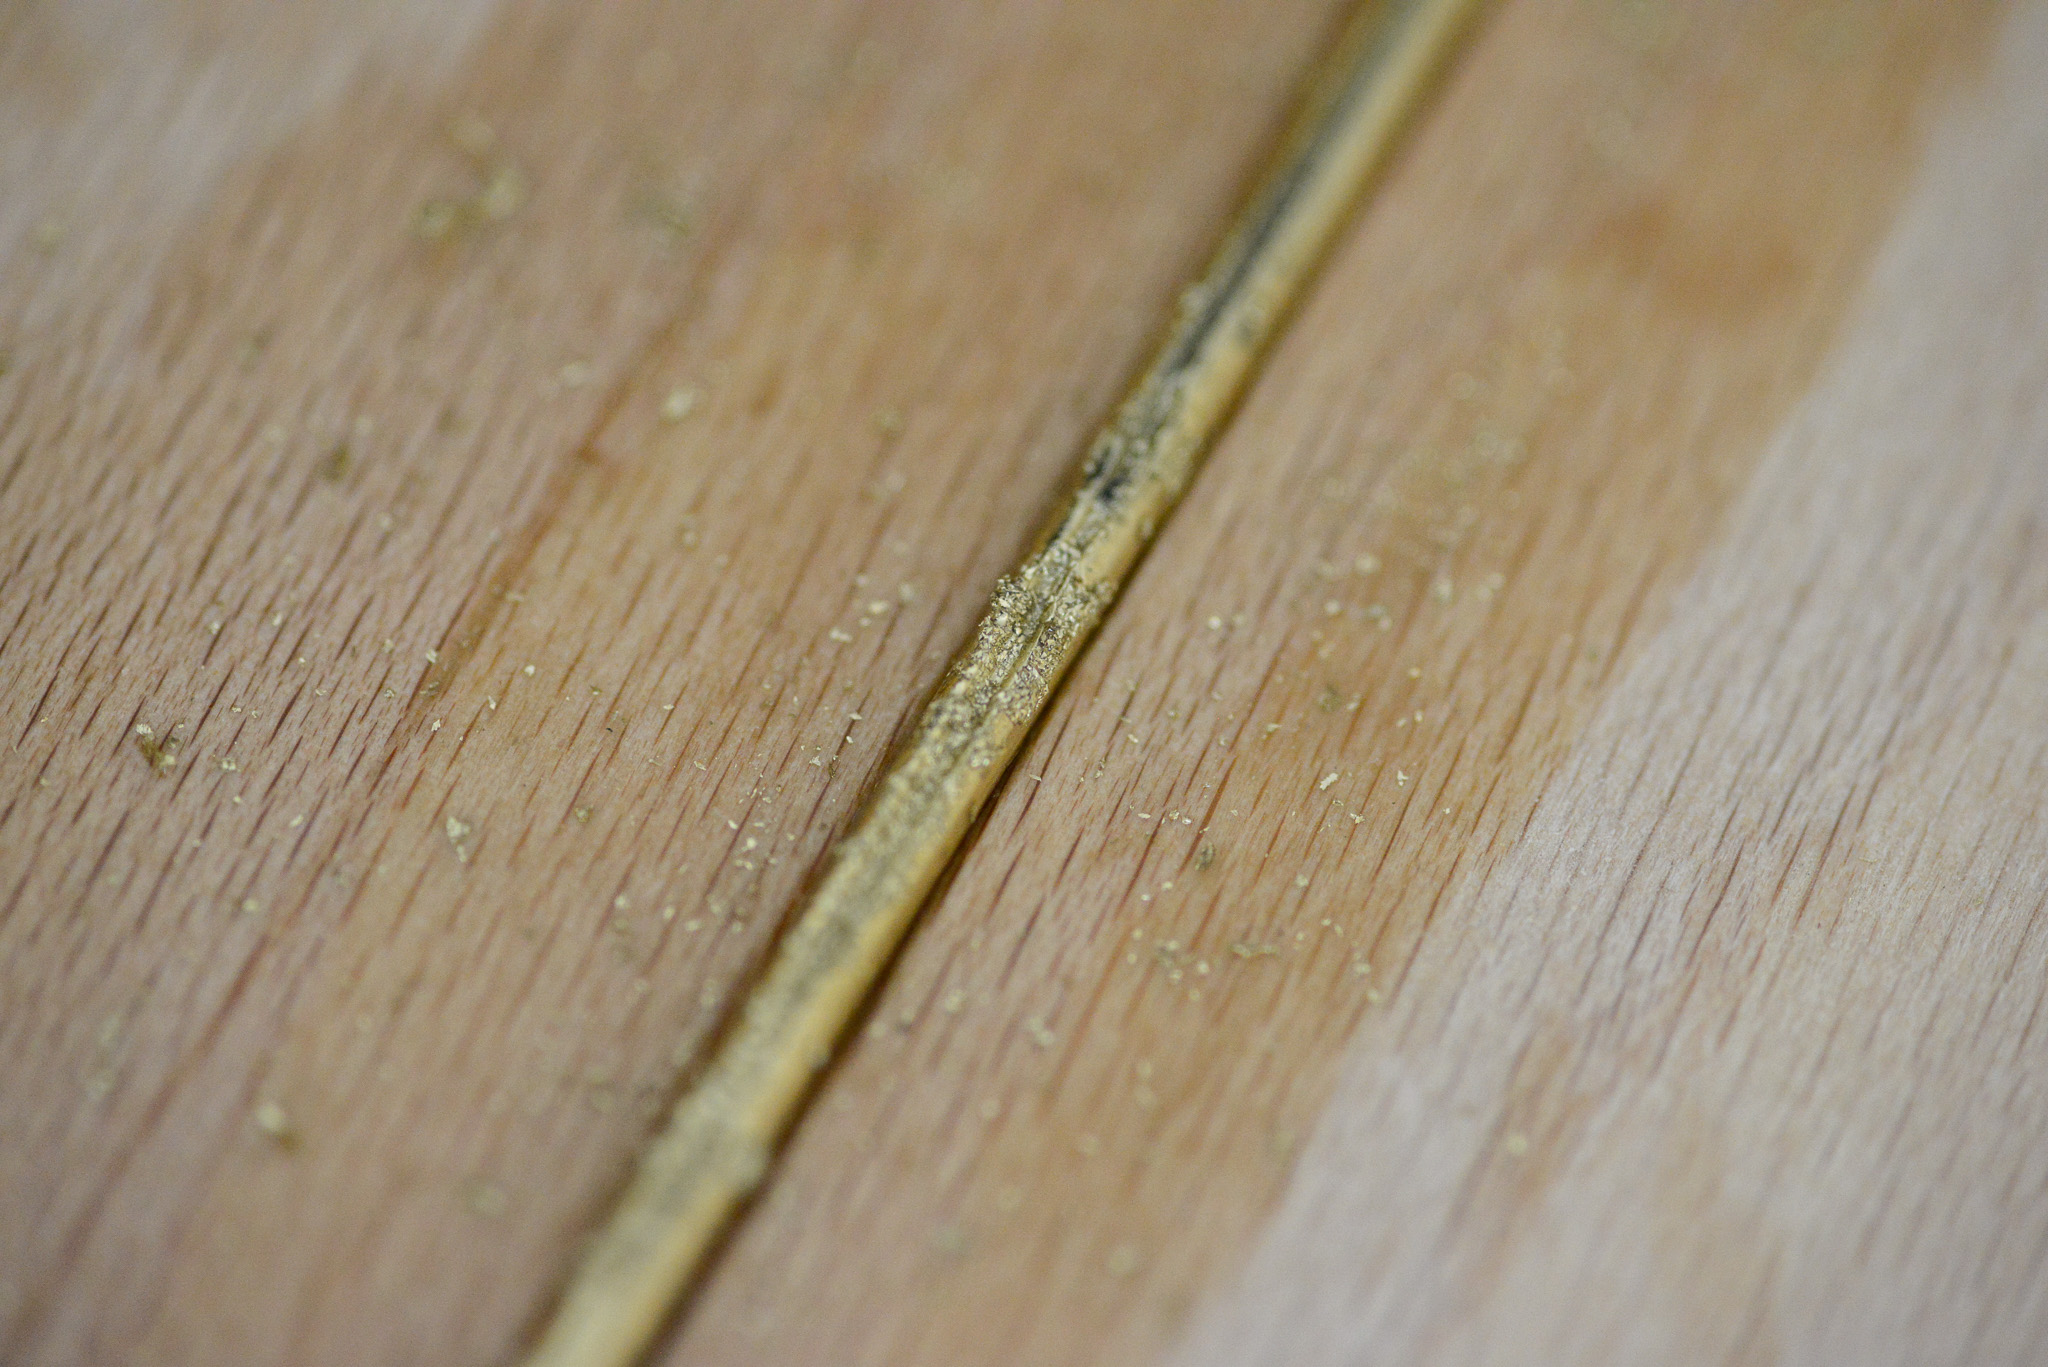
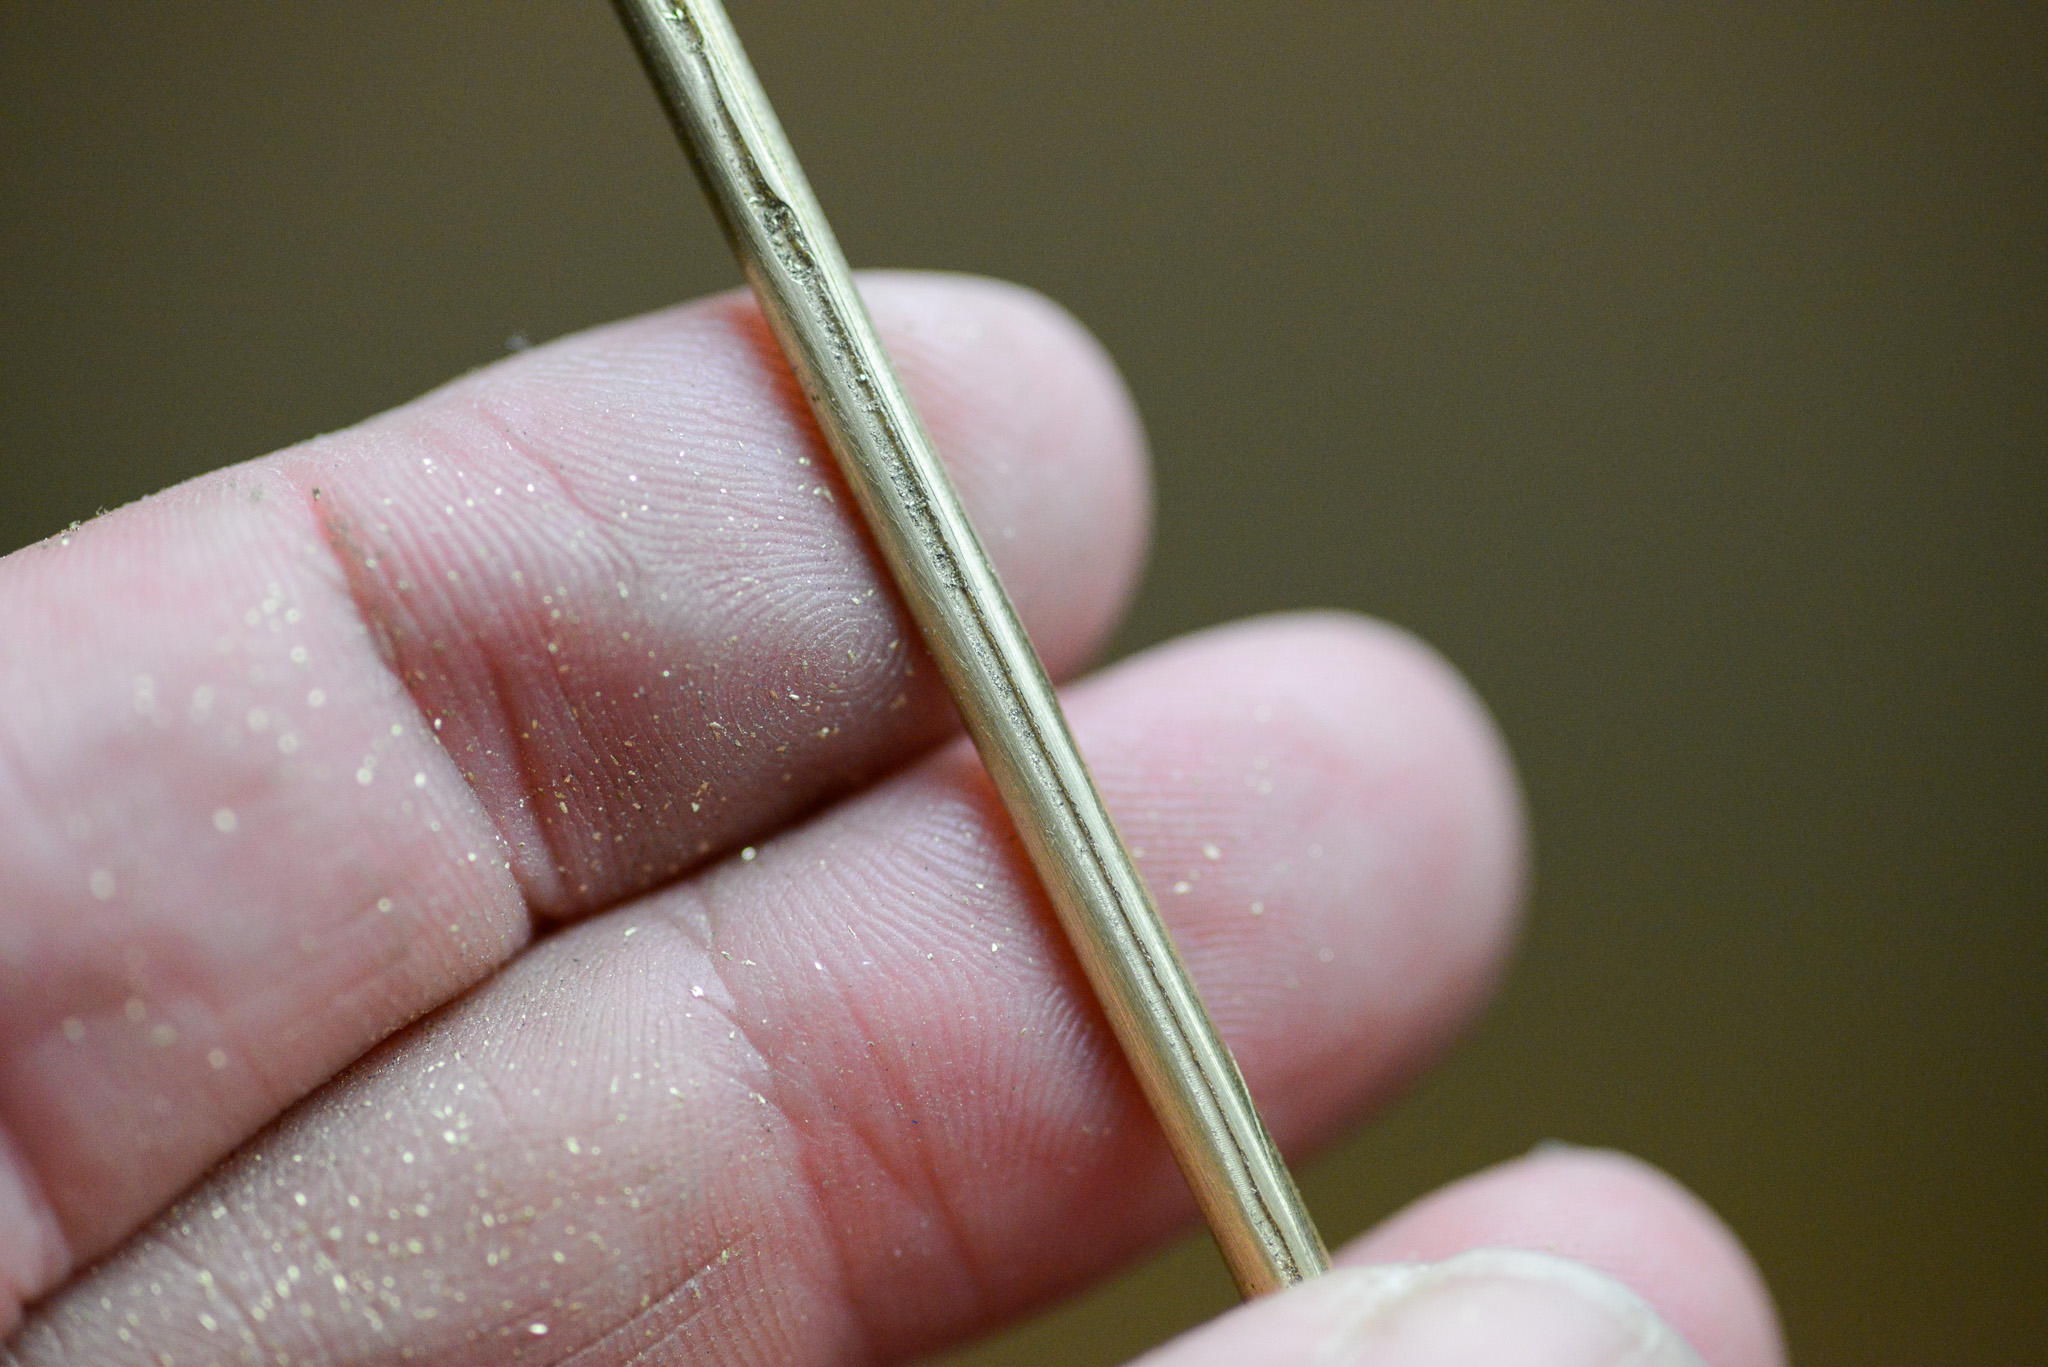
At first the results looked patchy and unsuccessful. The router had caught in certain areas of the rod, so there were even and distorted sections. However, once I gave the rod a quick smoothing with some sandpaper, the final result looked much better. There was a clearly-grooved straight section that a scalpel blade ran reliably through.
where next?
The router method was the most successful of all my attempts, and is worth refining. I was limited by the oversized wood bit I used, and I believe I could get a more consistent and finely tuned result with the correct router bit.
Without wanting to invest in new tools, I found some small and cheap parts that would allow me to convert my router to take smaller bits, and I also found a micro-routing bit that should carve a 0,5mm groove, which is much finer that what I had been able to achieve so far. So I await the new parts and will try again shortly…
Datenschutzerklärung — Impressum
©Emma Wood 2025
